Evolution in a psuedo IDE
In the last post we had setup the Termux terminal emulator for getting ready to transform our phone into a development setup. Here i will show you how to achieve our final goal.
You may be wondering, what do i mean by a Psuedo IDE. Let’s be realistic and think that working on a phone will never be same as working on a full workstation. You wont have the whole GUI, No VS code or other IDEs and morever no physical keyboard. But until the end of this post you may have achieved a part of what a workstation consists.
A few things which are needed to perform this task will be
-
- a text editor
- For our setup we will use micro
-
- the packages needed for our developmental tasks
- I work with python so i will setup this whole thing for python but will list the packages for different setups. if i miss something do comment and i will update the list.
Installation of Required Packages
As we saw in the last post to install packages we use the
pkgpackage manager in Termux.
Installing the editor and the packages is really simple.
- first lets upgrade the packages already installed.
pkg upgradethis upgrades all installed packages and now we are ready to install the required packages
- just type in the below command in Termux and press Enter.
pkg install micro python/nodejs/ruby/golang/clangchoose one or more of the last options just separate them by a space so that they install correctly. Obviouly you cant use flutter and/or Kotlin and other programs directly. These are some things which we cant do anything about but you wont need them just now i hope. If you do need them just leave a comment and i will write a post about how to install them. After the installation completes successfully you will be able to use the respective programs. Next Up setting up the editor.
Setting Up Micro
micro is a single binary executable with a small size and zero dependancies. It has many features useful for someone who is working in a headless environment and has no access to GUI.
It has many features including syntax highlighting, colorschemes, plugin support, etc.,Basic functions
Basic functions of micro are listed below like opening, saving a file, etc.,
-
- opening a file
- you can open a file present in the current working directory or open an empty file.
- simply typing in
microopens an empty file. - if you specify a filename after micro and there is no file named similar to it present micro creates a file named what you gave as argument.
- typing in
micro <filename>will open the file - be sure to type in the filename with extension.
- for example, if you type in
micro py.pyit will open a file named “py.py” in the current working directory and if it is not there micro will create a file named “py.py”.
-
- Saving
- Changes made in an open file can be saved by pressing
CTRL+son your keyboard
-
- Save As
- For resaving a file with different name you need to Open the Command Bar of micro.
- Pressing
Ctrl+ewill open the command bar at the bottom of the screen. It will be indicated by>and the curson will be relocated to the command bar and no interaction will be possible with the open file until the command bar is open. - type in
save <newfilename>and remember to provide the newfilename with an extension.
-
- Quitting
Ctrl+qquits the editor- if you havent saved the file you will get a prompt at the bottom. asking you to save, ignore changes or cancel the quitting operation.
Autocompletion
micro has autocompletion implemented mostly everywhere. To use it you just need the correct conditions and a press of the Tab button. micro is Not an IDE. Hence you wont get Autocompletion like the popular IDEs. but it surely reduces the work.
Advanced functions
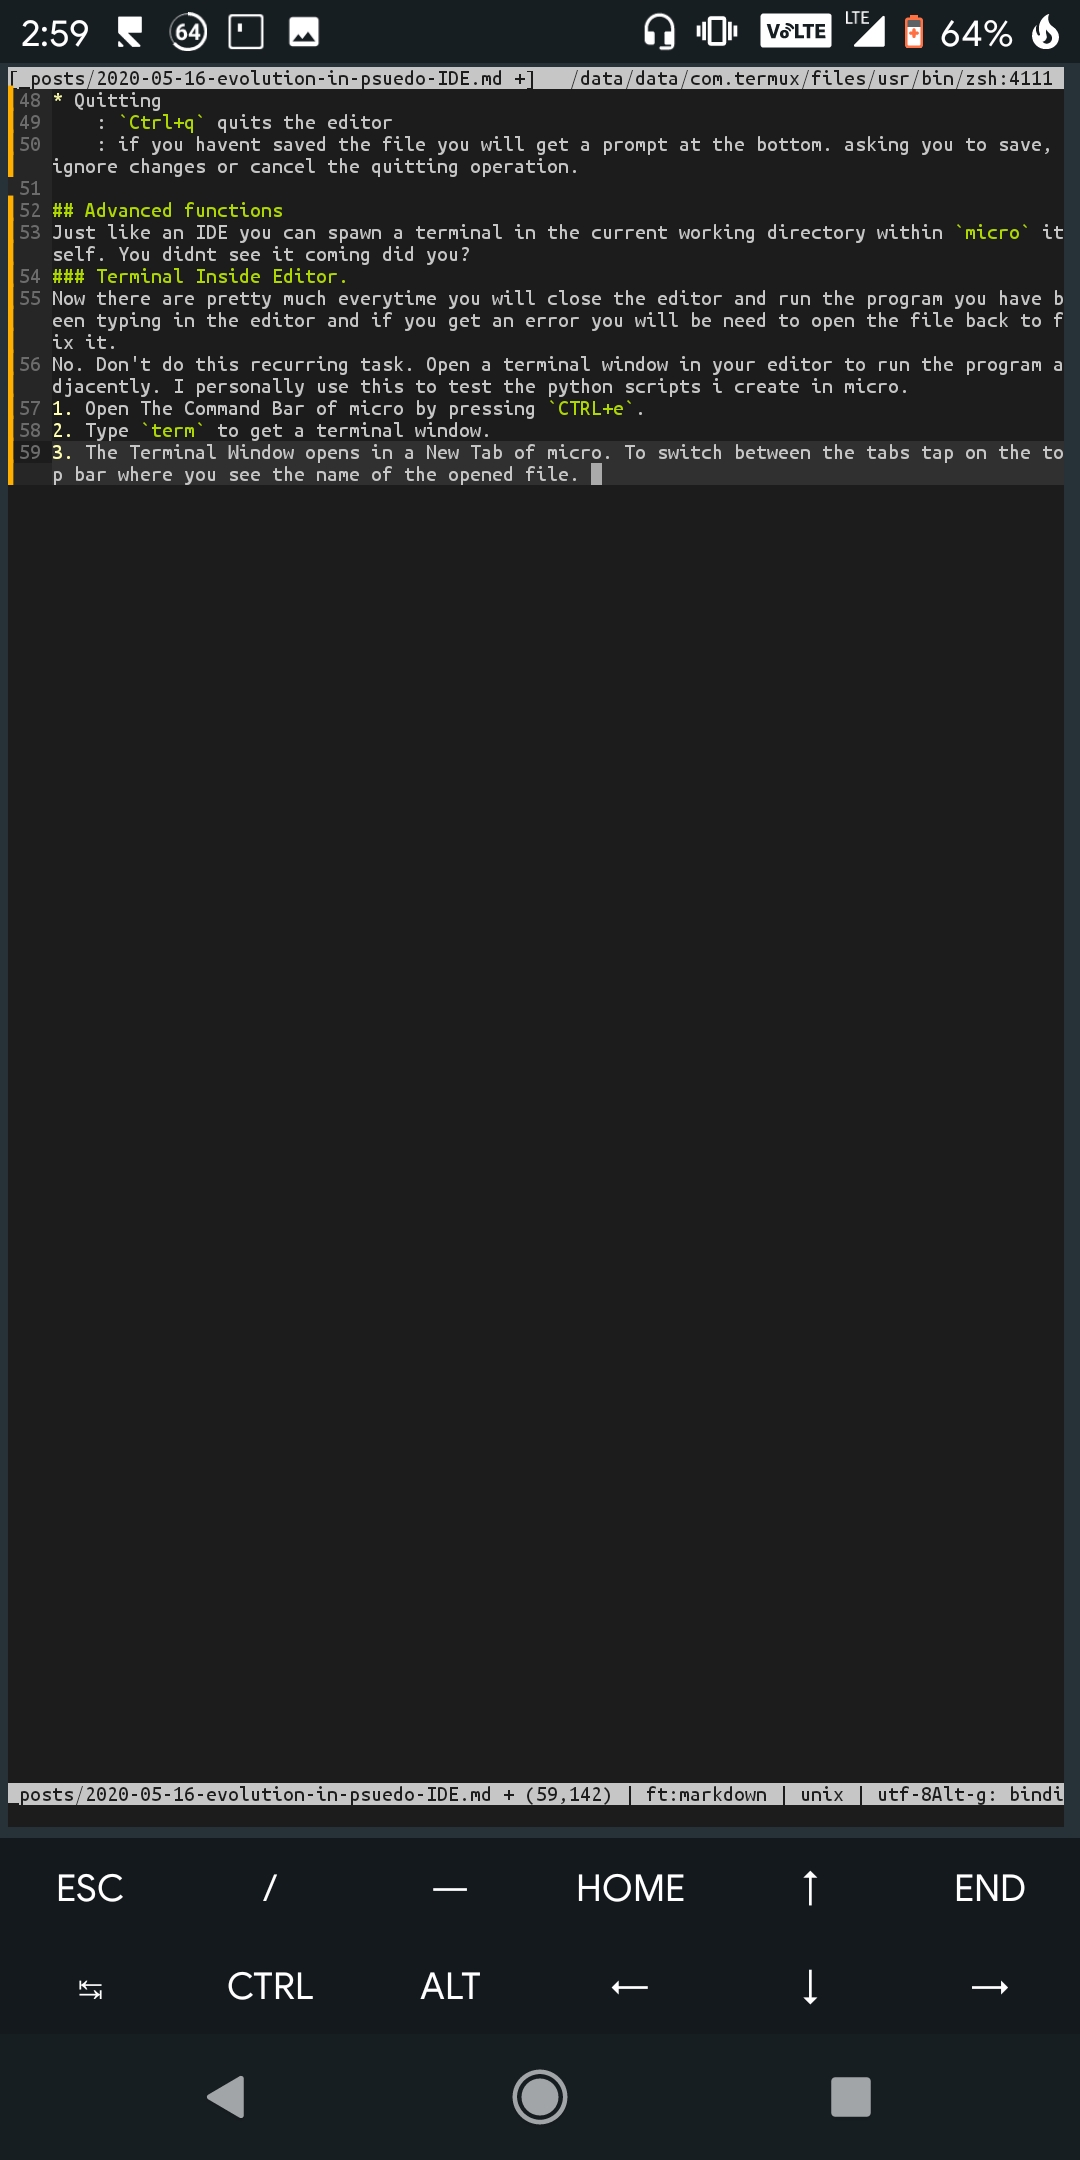
Just like an IDE you can spawn a terminal in the current working directory within micro itself. You didnt see it coming did you?
Terminal Inside Editor.
Now there are pretty much everytime you will close the editor and run the program you have been typing in the editor and if you get an error you will be need to open the file back to fix it.
No. Don’t do this recurring task. Open a terminal window in your editor to run the program adjacently. I personally use this to test the python scripts i create in micro.
- Open The Command Bar of micro by pressing
CTRL+e. - Type
termto get a terminal window. - The Terminal Window opens in a New Tab of micro. To switch between the tabs tap on the top bar where you see the name of the opened file.
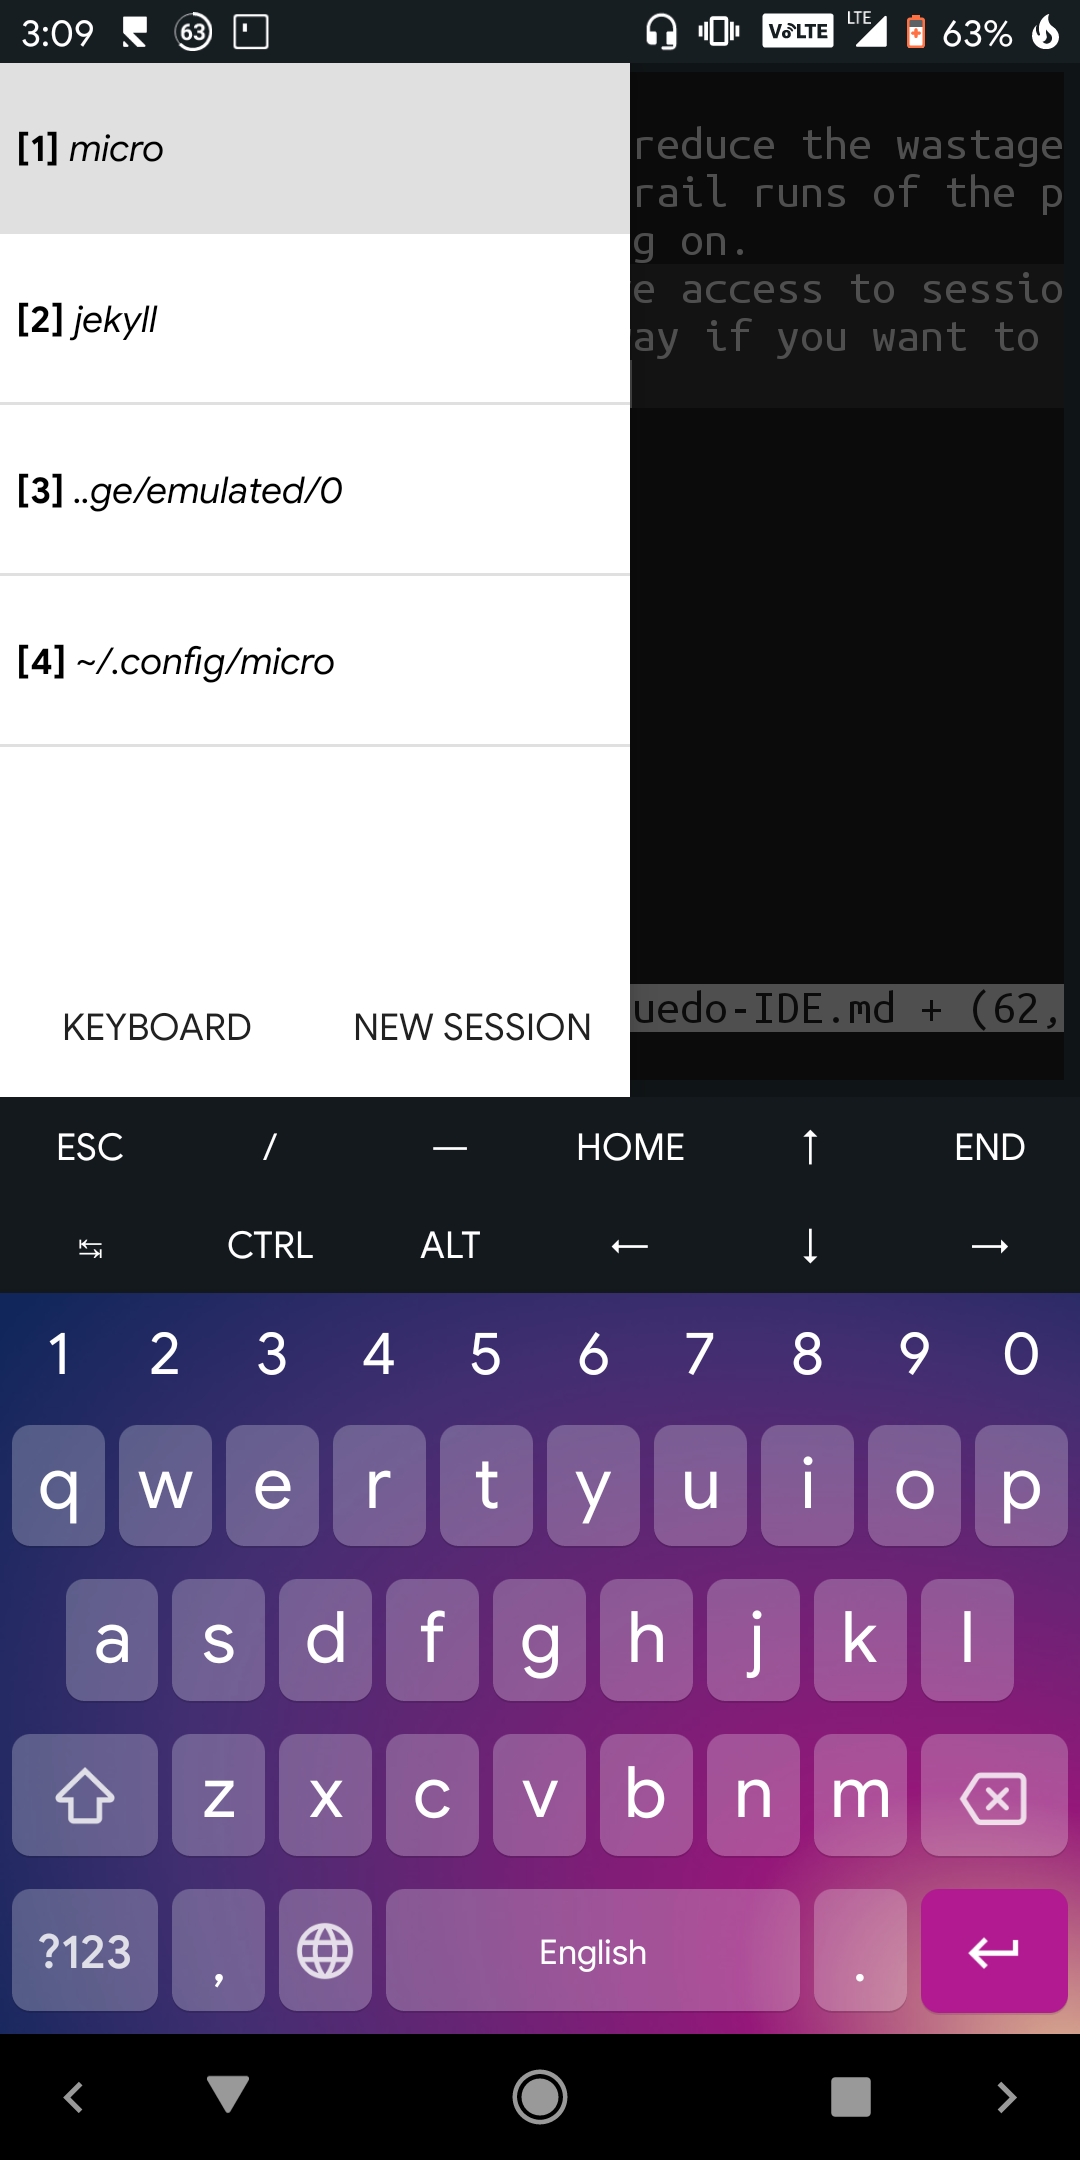
This is a good way to reduce the wastage of time between the trial runs of the programs you are working on.
Also in Termux you have access to sessions and it provides you with another way if you want to access the terminal.
Macros
Macros are a set of specific instruction which can be performed automatically by issuing cetain steps totally independent of the former steps. for example, if you wish to insert a specific text “dummy” on the press of a button you can record the insertion of the text and press the button to insert it. or you wish to do something else like pressing one button to do some task which you are doing multiple times and each time it is taking a lot of time.
You can record a Macro in micro by pressing Ctrl+u. The start of recording will be indicated by a message in the Command Bar. Press the same key combination, Ctrl+u, to stop recording the macro. Now whenever you want to execute the steps you recorded, just press Ctrl+j and you will see the effect immediately.
Help for micro
Help for micro is available by pressing Key Combination Ctrl+g. A new tab will open with help for micro. Also you can type in help command in the Command Bar to get help.
Customizing
micro supports many themes which are included by default. To set a theme open the Command Bar by pressing, Ctrl+e, and then type set colorscheme, give a space and then press tab. You will see a list of themes. Keep pressing tab and whenever you think that a theme’s name looks good, press Enter on your keyboard, the theme gets applied.
Wrapping Up.
This post is quite short but very important.We set up the text editor to work partly like an IDE and this will surely speed up our development. In one the next post we will learn how to setup a startup script in Termux so that we automate some tasks when we start a session of Termux. Leave a Comment if you think i missed something or there is a mistake somewhere. ✌️ See you soon.